


Beauty Mark: DIY Zebra Nails
by Nicole James
July 22, 2010
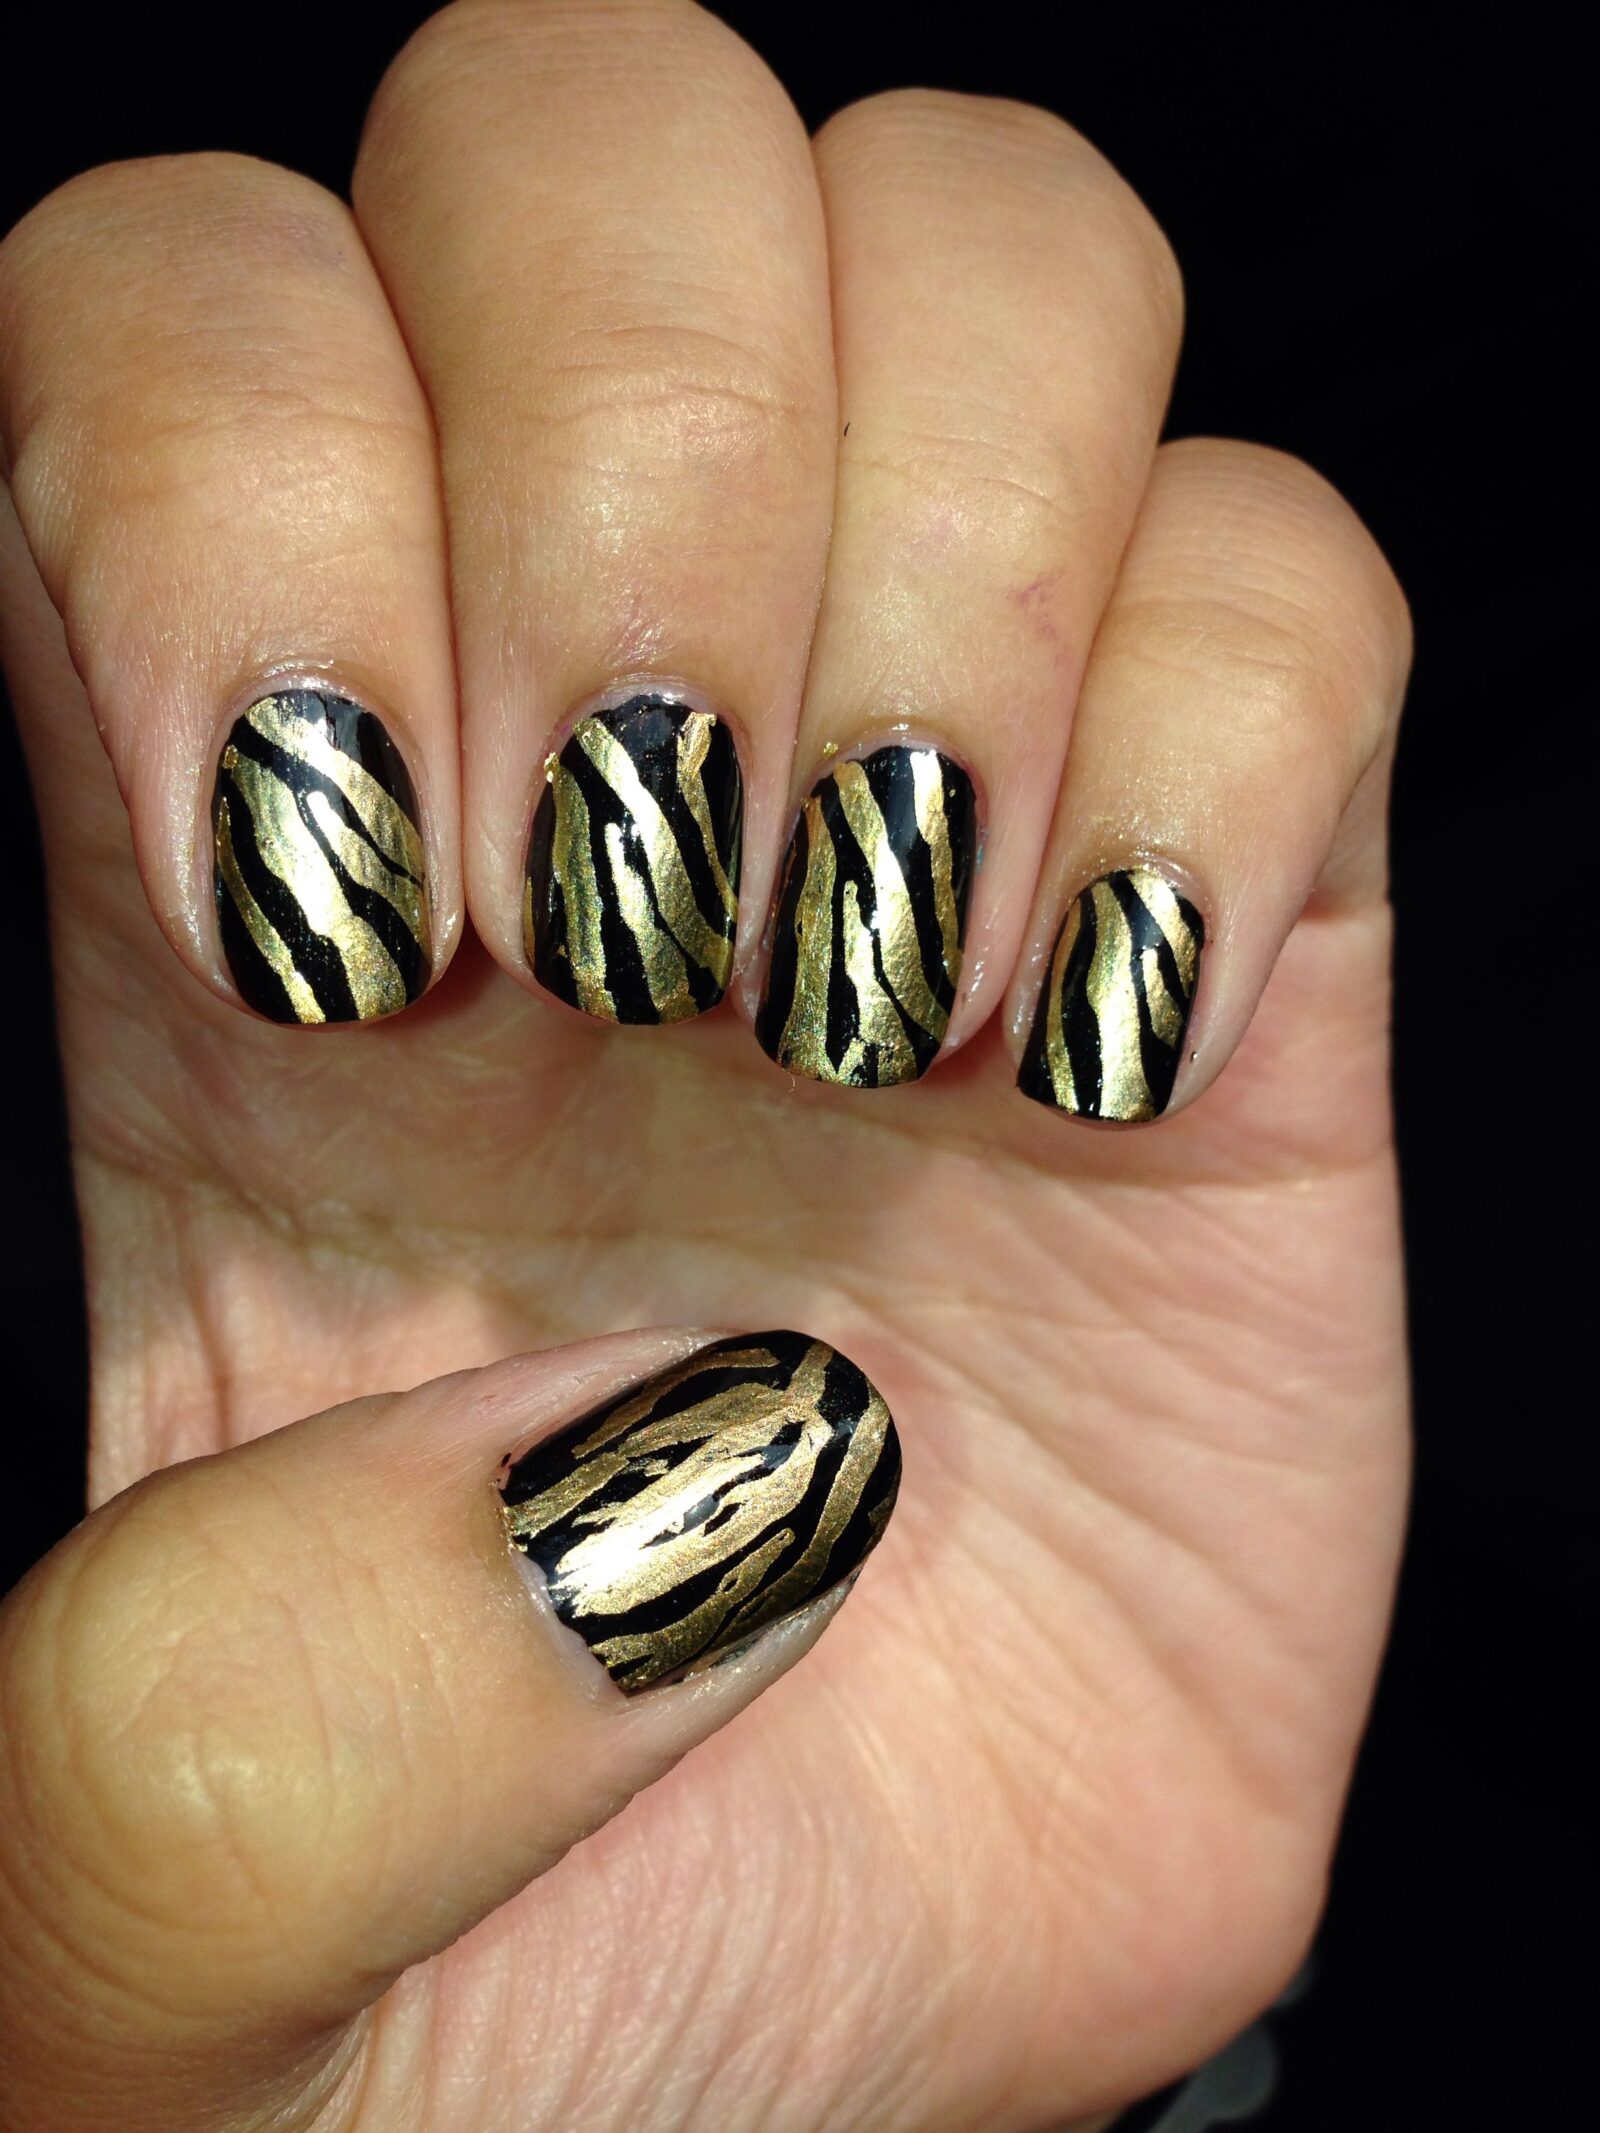
As a reformed nail biter, I’ve come to not only understand the importance of keeping my fingers out of my mouth but also keeping my nail game tight. This is a monumental leap for me, as I’ve gone from little nubs on the ends of my fingers to only painting them beige to in-your-face gold zebra nails. And I did it all by myself!
I got some inspiration when Monica showed me the Valley NYC gallery, who are the best of the best when it comes to pro nails. These gold zebra nails caught my eye and I decided to try to recreate the look at home on the cheap.
WHAT TO BUY
- Morgan Taylor Professional Nail Lacquer in Gold, $9.50
- China Glaze Stripe Rite Nail Art Polish in Black, $4
- Seche Vite Top Coat in Clear, $8
HOW TO
- Prep nails like you normally would. Remove old polish, file, clip cuticles, buff, and finished with a cuticle cream.
- Apply a base coat and let dry.
- Apply two coats of gold polish.
- ***TIP: Before attempting zebra stripes, practice on a piece of scrap paper.***
- To paint the stripes, start with one side of the nail and begin another pattern on the opposite side, working your way from the bottom up. The key to the stripes is to work from side to side. Also, don’t be too precise as natural zebra patterns are rather haphazard.
- When dry, clean up the sides with a cotton swab dipped in polish remover.
- Apply a final top coat.
Then RAWR, all finished.
What's Your Reaction?
Excited
0
Happy
0
In Love
0
Not Sure
0
Silly
0
